
Navigate to Digital Passes > Templates. Click Edit to adjust a template. There are a few tabs with various settings.
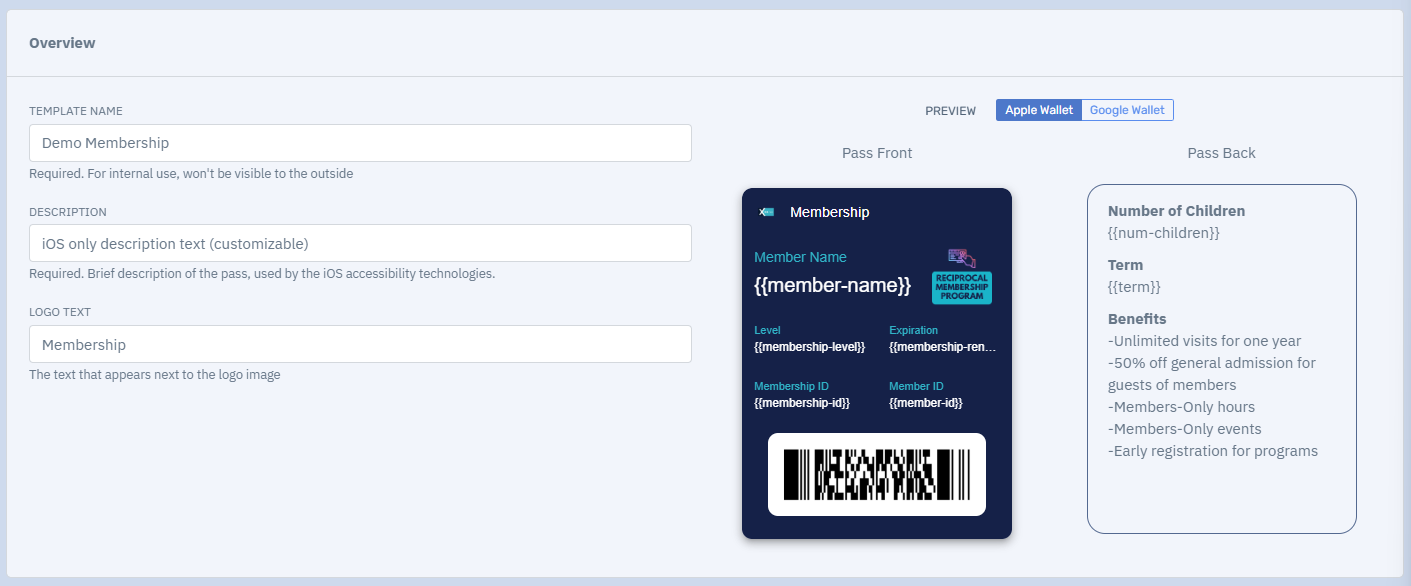
Overview
The Overview tab allows you to preview your pass template and update some high-level pass information, including the Logo Text which will display to the right of the logo image.
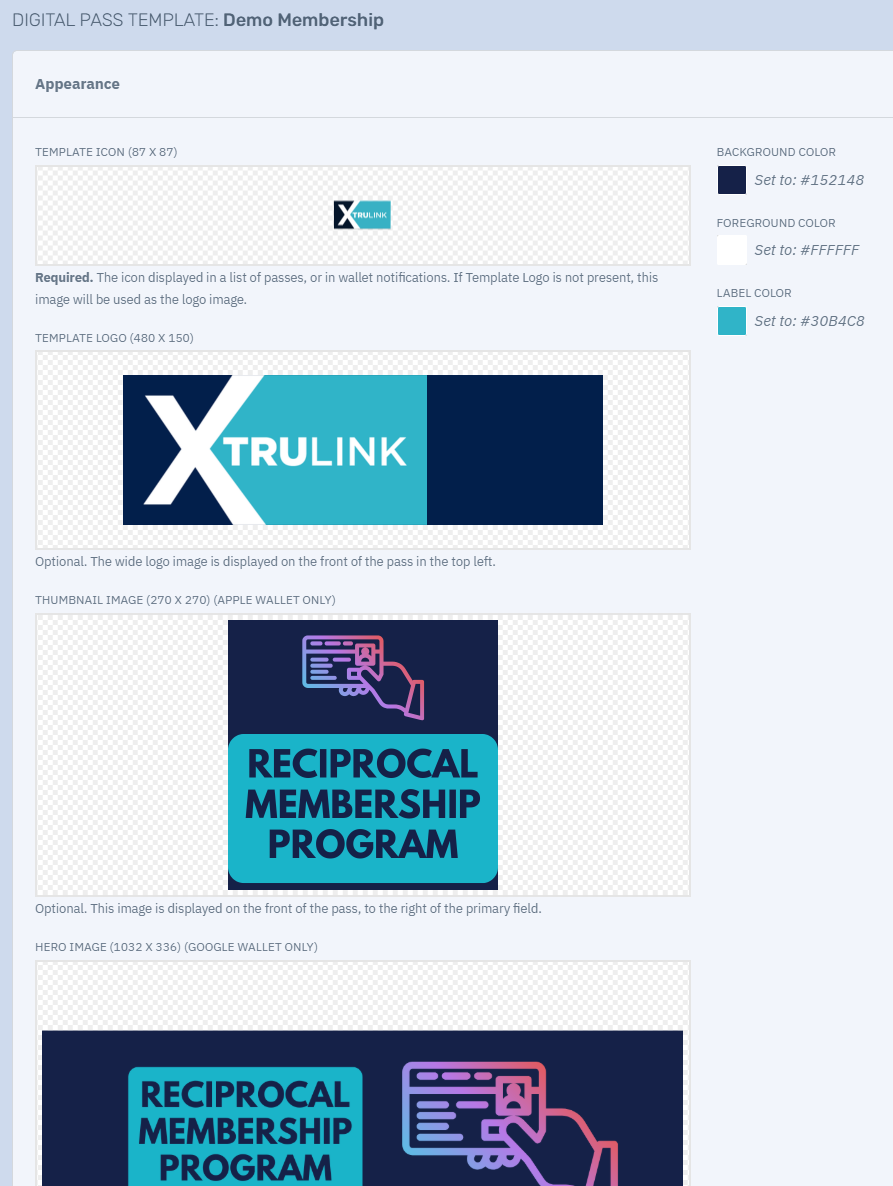
Appearance
The Appearance area allows you to customize the logo, secondary image, and colors. Note that the settings ask for two secondary images - one size applies to Apple Wallet and one for Google Wallet.
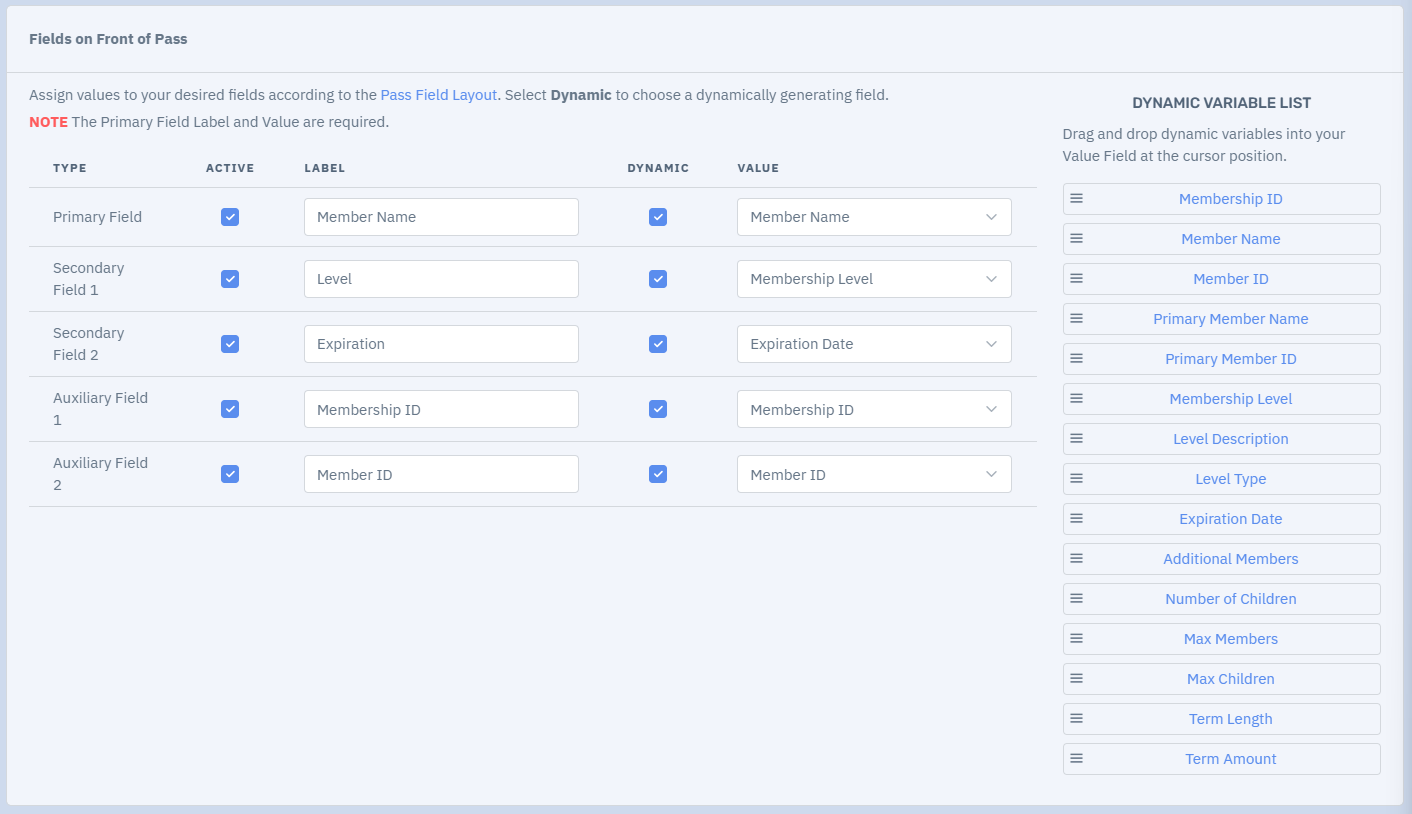
Pass Front
The Pass Front tab sets the field data that will appear on the front of your passes. There are five customizable fields on the front of the pass. The layout of the fields can be referenced by clicking Pass Field Layout.
Each field has a Label (which will display in the Label color you set in the Appearance area) and a Value (which will display in the Foreground color). Fields must be active before they will display on the pass. To activate a field, click the Active checkbox for that field.
The field values can be Static or Dynamic. With static fields, you can type whatever static value you want. Leave the Dynamic checkbox unchecked to create a Static field. This could be a list of membership benefits. For dynamic fields, you can select from a dropdown list of dynamic values that will populate with the pass holder's information.
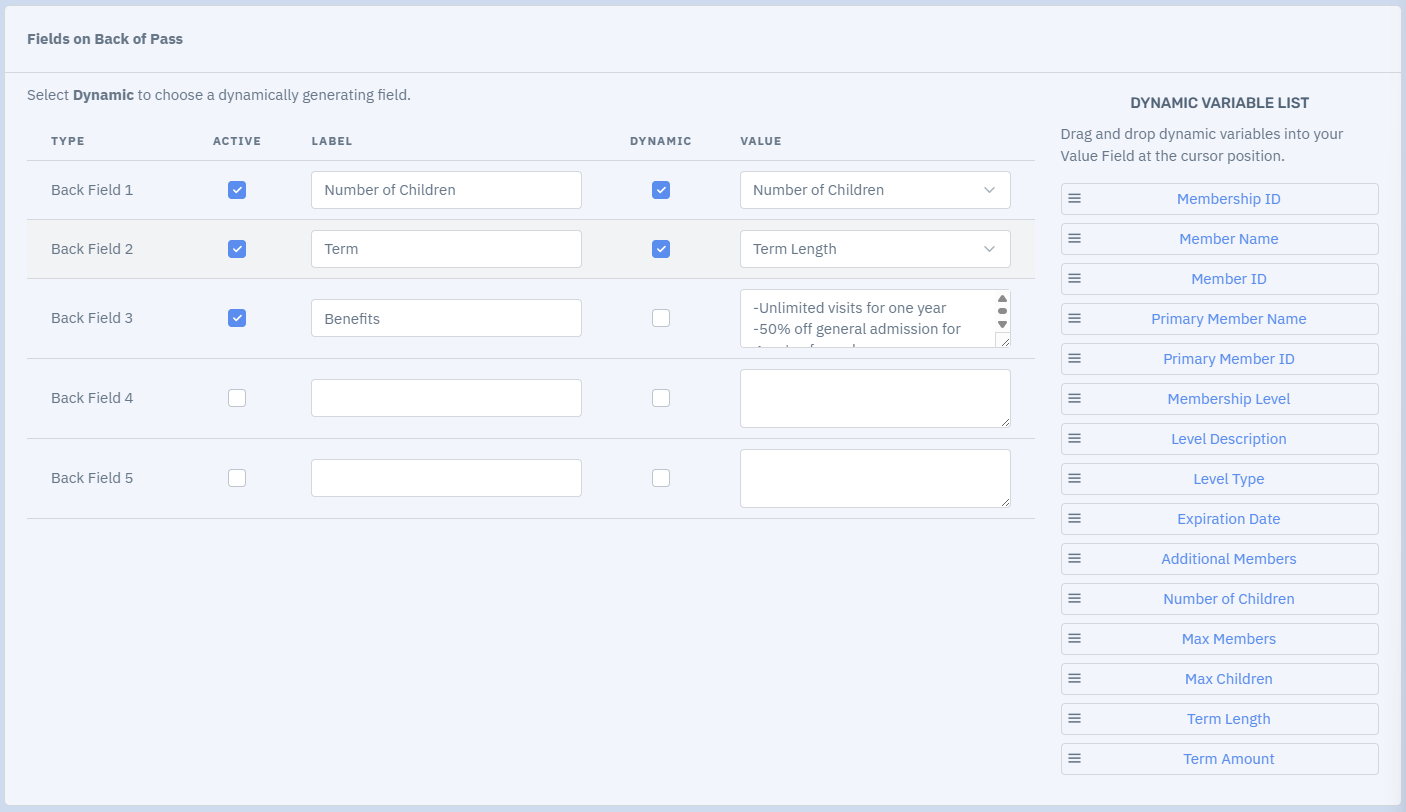
Pass Back
The Pass Back area is essentially the same setup as the Pass Front, except that there is no "layout" or design to the information on the back of the pass. The pass holder's wallet app will format automatically.
Relevance
The Relevance area is for entering locations where the pass should be displayed on the lock screen. It will appear when the user is within 100 feet of your specified location, similar to a boarding pass at the airport.
To use this function, click Add a Location. To obtain a latitude and longitude, visit maps.google.com, find your location, then right click the location pin to obtain the latitude and longitude information.