
You can view or make changes to your Web Portal via Online Sales > Portals. On this page, you will see a gear icon in the top right, and a list of your web portals.
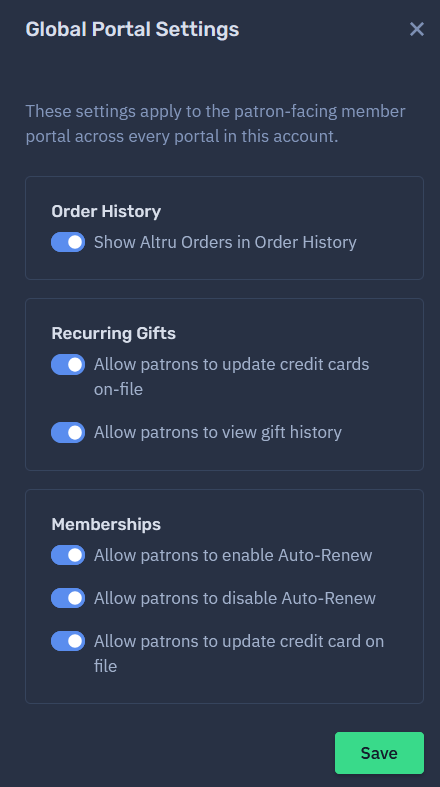
Click the gear icon to access Global Portal Settings. These settings apply to ALL portals.
Click the edit icon on the portal list to make changes to a specific portal. The settings are split into ten categories, listed in the left sidebar:
- Status (your live status and main portal links)
- Settings (general settings such as payment processing)
- Branding (logos)
- Theme (colors and CSS)
- Menu (the header and all product pages)
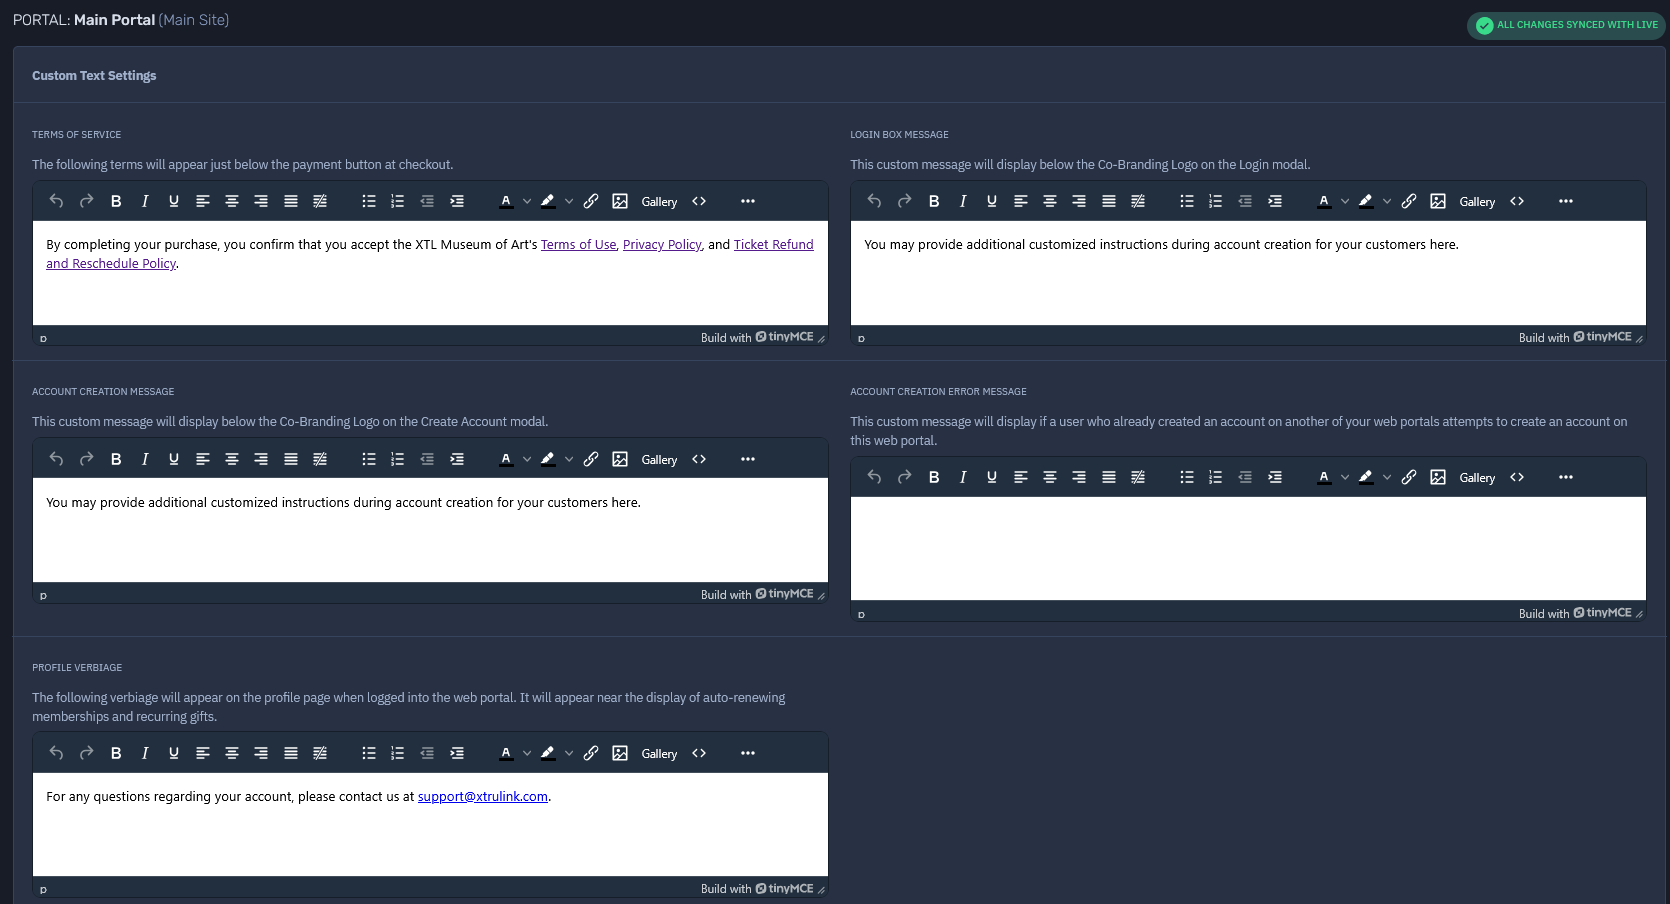
- Custom Text (various areas you may add customized text)
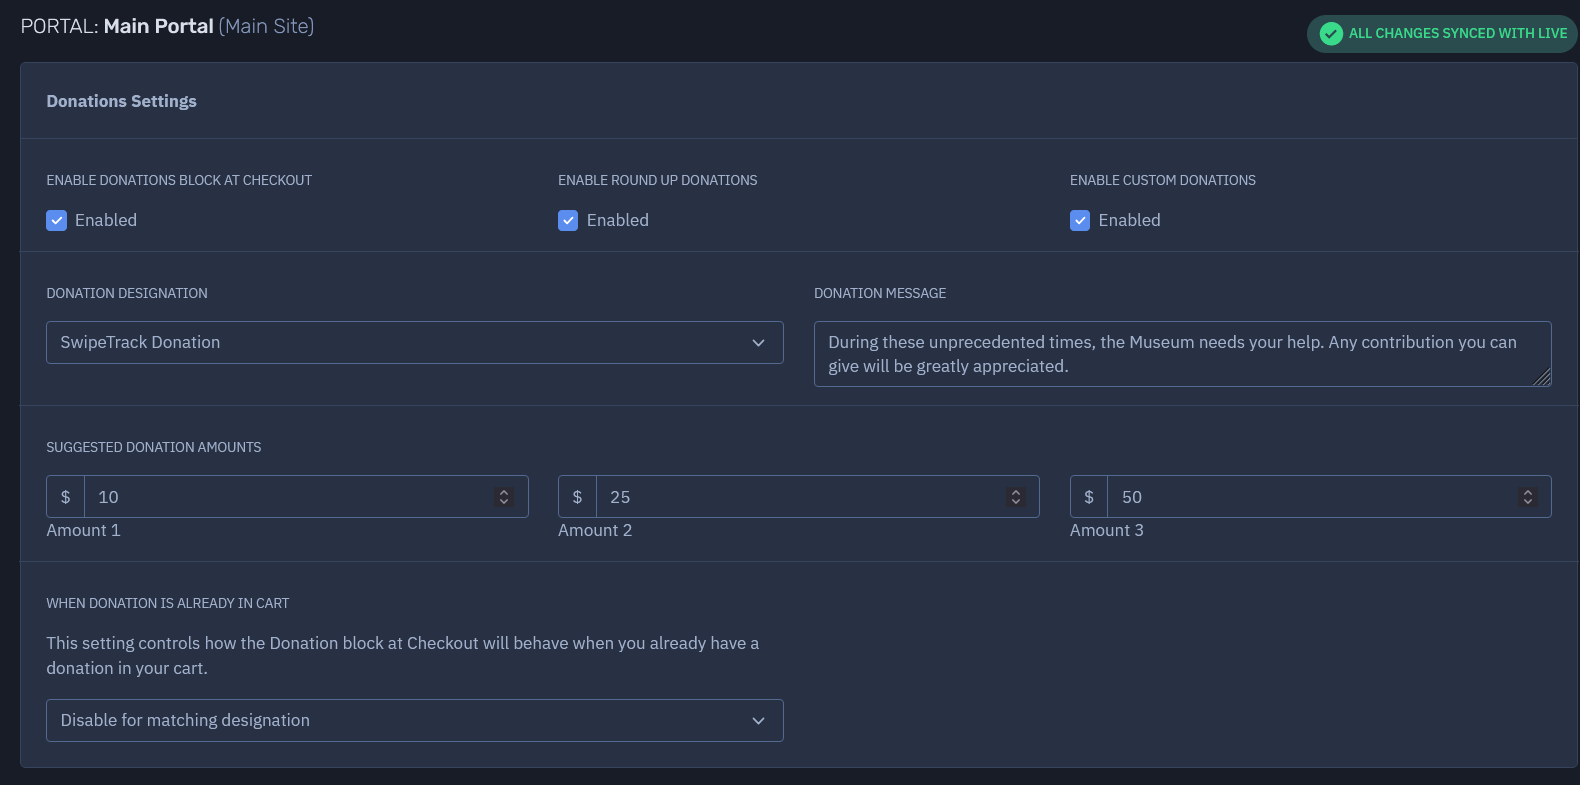
- Donations (optional configuration for additional donations at checkout)
- Cover The Fees (optional configuration for obtaining XTL and BBMS fee coverage from customers)
- Receipt (the default receipt customers will receive at time of purchase)
- Custom Code (you may not see this as it must be enabled by request and grants the ability to add custom HTML and/or JavaScript to your portal)
Status
Find your Active Status, main portal link, and the preview link here. The preview link may be used as you are making changes that have not yet been synced to your live site.
Portal Activation
Typically, you will select the Portal Active checkbox when your settings are complete and you are ready to go live with your online sales portal. It is okay to check this box ahead of go-live as long as you have not yet shared links with your customers.
Settings
General portal settings are set here. This includes:
- Site Title: Displays in the browser tab and should typically be the name of your organization.
- Payment Method: This should be set to BBIP
- Order Timeout: We strongly recommend 10-15 minutes for order timeout.
- Other general selections including header, footer, membership renewal, and iframe settings.
Allowed URI for iFrame Embedding
By default, the online sales portal cannot be embedded on another page. You may enter your domain here (e.g., https://mydomain.com) to enable the online sales portal to be embedded via an iframe on your own domain. The iframe will only work on this single domain.
Embed Code
If you have set an Allowed URI, then you can use the Embed Code to embed an iframe of the online sales portal on your own website. For more information on how to embed or customize an iframe on your website, please consult your IT department or website admin.
Branding
Add the logos for your portal header, login page, and browser tab.
Theme
The Theme settings determine the active status, look and branding of your online portal. The URL displayed at the top of the Theme settings is the address where the portal will be available when active.
Menu
The Menu settings are where you set up your header categories and the different pages that will make up your online sales portal. Each menu item will create a landing page on your online sales portal for your various products.

Creating Menu Items
To create a new Menu Item (header category) for your online sales portal, click Create Menu Item. The box will prompt you to give your menu item a name. Choose a short name that best describes the type of products you plan to put on that page. You may edit this later. The URL route will automatically generate but may be adjusted. You can also select:
- Visibility: Who can see the page? Choose between Visible (accessible by all), Hidden (accessible by direct link), Members Only, and Disabled (will disallow use and redirect existing links to your main website).
- Calendar Page: Select if linking a Web Calendar to your menu.
- Direct Link: Add a direct URL here if you'd like your menu item to link to a specific page, such as Daily Admission tickets.
Editing Menu Items
To edit a menu item name, click the Edit icon for that menu item and enter a new name.
Reordering Menu Items
To change the display order for Menu items, simply drag and drop the row to change the order. After you change the ordering, be sure to click Sync Changes.
Removing Menu Items
Removing a Menu item will also remove any products (product display image, product details, etc.) from the associated menu page.
Adding Products to Your Menu Page
To add/edit products on a Menu page, click the Pages icon on the Menu Item list.
- Click Create Page to add a new product item.
- Select one of the following Item Types from the dropdown list:
- Membership - a specific membership level
- Program - any active scheduled, pre-registered, or daily admission program
- Combo - any active combination. We do not recommend adding combination pages that contain scheduled programs with numerous timed events as calendar load times can cause issues.
- Donation - any active designation (the list will show the designation's "Public Name" from Altru)
- Custom - this option allows you to add multiple programs and memberships to one page without configuring a combination price type in Altru. (If selecting a program, please note that custom pages are only available for only for scheduled programs and daily admission programs. Pre-registered programs cannot be added to a custom page.)
- Direct Link - select a specific URL to link to from the page tile.
- Gift Card - only applicable if you have Gift Card functionality enabled. This must be requested through XTruLink Support.
- Next, select the item you want to add to your page. Once selections are complete, click Create Page.
Reordering Pages
To change the display order for Pages, simply drag and drop the row to change the order. After you change the ordering, be sure to click Sync Changes.
Page Settings
To access more detailed Page Settings, click the Edit icon for that product. Here you will see a variety of tabs and options (depending on the item type).
Settings for ALL Item Types
| Tab | Description |
|---|---|
| Display |
|
| Controls |
|
| Items | This will be slightly different depending on the type of product. You'll select price types, membership levels, or suggested donation amounts. For program pages, you will also see the option to mark price types as Members Only (this means members will be promoted to login to access the price type) 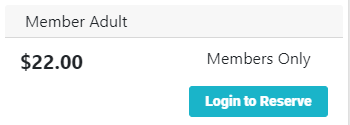 |
Settings only available on select page types
| Tab | Page Types | Description |
|---|---|---|
| Flow | Program (with events) | For event-based programs, select the Event Selection Flow. You have two options:
|
| Upsell | Program Combo | Enable and create Upsell options. An upsell will suggest a different product page for selection instead of the current page. |
| Cross-sale | Program Combo Membership | Enable and create cross-sale options. A cross-sale will suggest an additional item for purchase after the patron selects the item on the page. |
| Notes | Program Donations | For scheduled programs and daily admission programs only (not pre-registered programs), you may collect additional info (1 field) per price type. For donations, notes are used for enabling tribute donations or comments from the donor. See full details here. |
| Addons | Membership | Enable addons configured in Altru to appear online. |
The Page Display Image and Endorsement
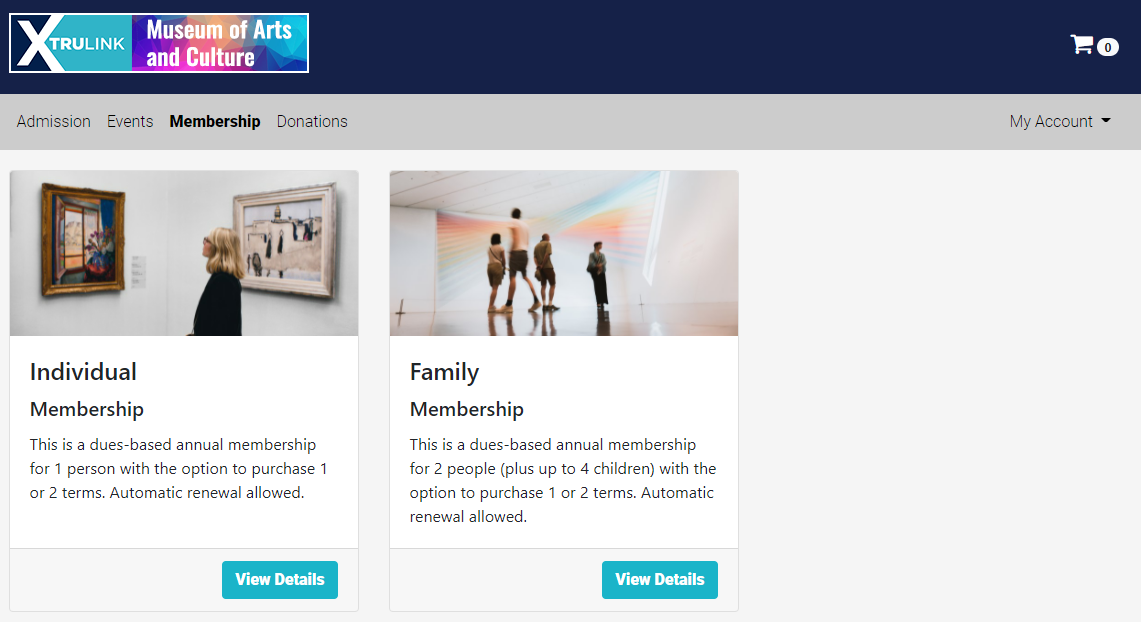
The program display image should be approximately 760 x 360 pixels. The program endorsement is a brief description of your program. These two elements represent your offering on the menu page.
The Page Details
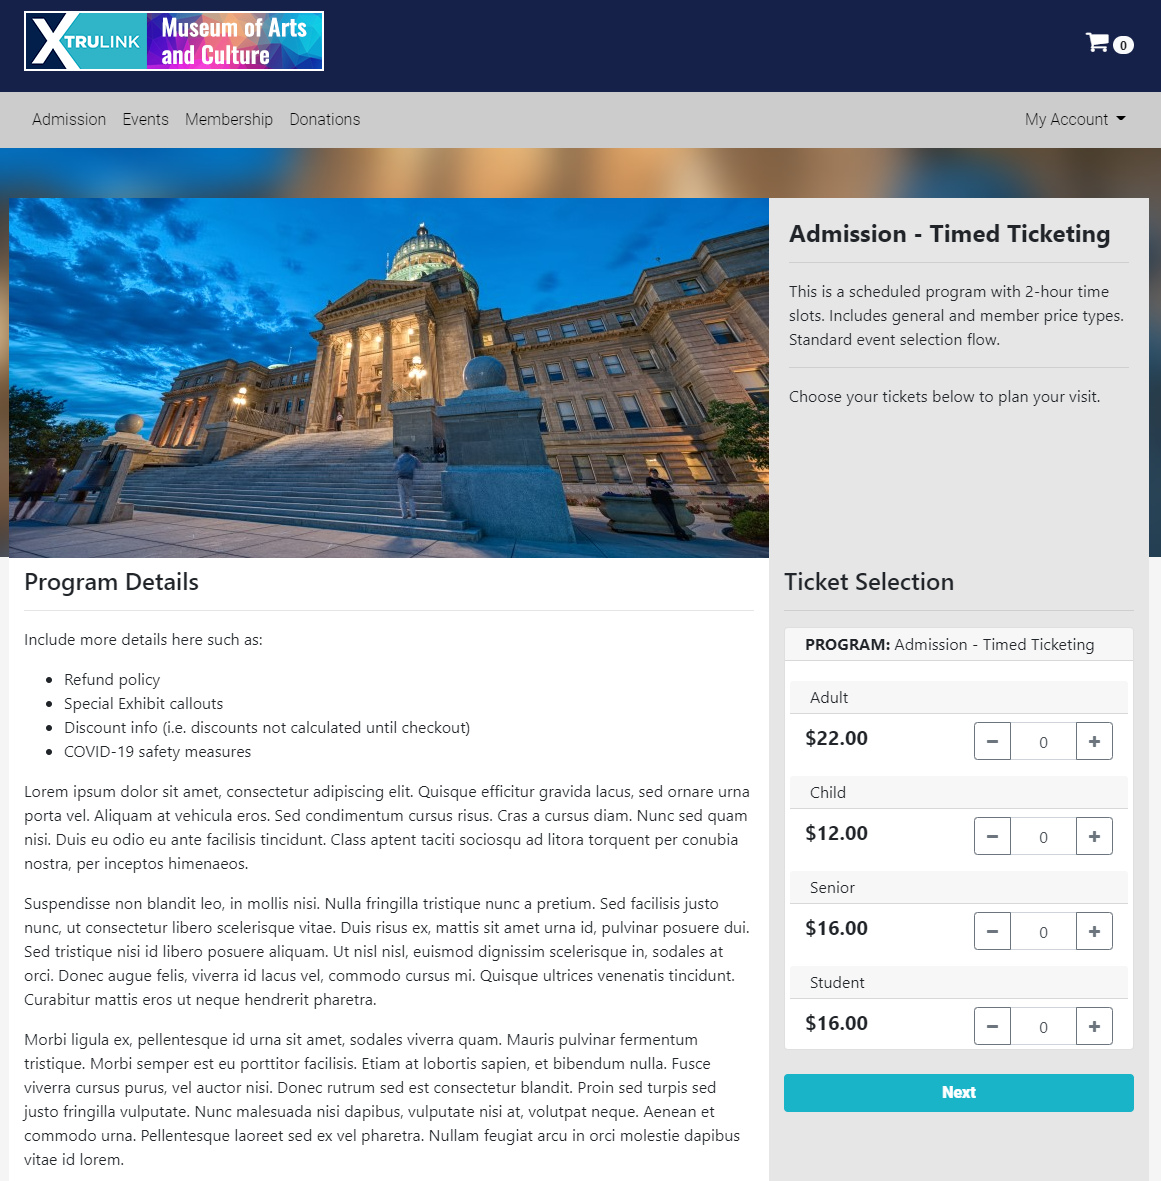
The program details will give a much more robust description of your program along with any details the customer may require for purchase. The details are set in a WYSIWYG (what you see is what you get) editor that allows for many common text formatting options. The program details will display on the product page below the program display image.
Custom Text
There are a few areas of stock-text on the portal that may be customized.
Donations
The Donation option will enable you to collect donations as part of a customer order directly from the online sales portal shopping cart at checkout. This is similar to the additional donation options available in Altru. Click the Enabled checkbox and select a donation designation. Click the Round Up option to show a button that rounds up sales to the nearest dollar and applies that amount as a donation. Click the Custom Donations option to allow customers to input a custom donation amount. You may also add three suggested donation amounts.
Cover The Fees
These settings allow you to cover your XTruLink and/or Card Processing fees with donations from your customers. These donations can be optional via a popup at checkout (Prompt Method) or automatically added to the order like a convenience fee (Auto Method).
Receipt
After purchase through the online sales portal, customers will be have the ability to view a receipt. They will also receive this receipt via email or text, depending on their selection at checkout. Your receipt templates can be viewed/edited by navigating to Messaging Service > Templates.

You will see a few additional options in this area for receipt and checkout settings.
Custom Code
This must be enabled per request and allows you to add HTML and/or JavaScript to your portal. Contact XTruLink Support if you'd like to use this optional module.